Toe Up Success Socks | Free Knit Sock Pattern for Beginners
- Amy Kate Sutherland

- Apr 19, 2023
- 3 min read
Updated: Apr 20, 2023
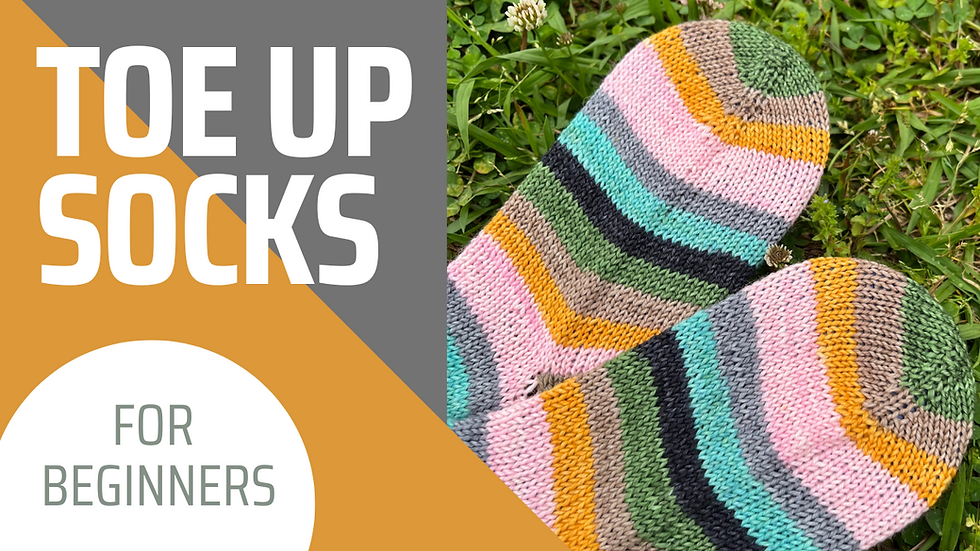
These socks feature the same beginner-friendly techniques as the original Success Socks, but are started at the toe! There are benefits to both methods, so use whichever you prefer. Enjoy!

Materials
100 grams of any fingering/sock weight yarn
Size 1(2.25 mm) needles, suitable for the method of your choice
Scissors, yarn needle
Gauge
32 stitches and 40 rounds = 4 inches in stockinette stitch worked in the round, blocked.
Abbreviations
CO: cast on
k: knit
p: purl
ea: each
sl: slip (as if to purl)
n1: needle 1 (or the first ½ of the sts)
n2: needle 2 (or the second ½ of the sts)
k2tog: knit two stitches together
ssk: slip, slip, knit
st(s): stitch(es)
*...*: repeat the instructions in the asterisks
Sizing Notes
This sock ruler is extremely helpful for knitting socks in any size.
This pattern is written for sizes small(medium, large) and are designed to fit a 7(8, 9) inch foot circumference. Please note that sock fabric has a lot of stretch, and each size will realistically fit 6-8(7-9, 8-10) inch feet. I suggest choosing the size that best suits the amount of negative/positive ease you prefer for socks.
Pattern Notes
These are my favorite sock blockers.
This pattern is written for using the magic loop method, and the rows will be divided into n1 and n2. If you’d like to use a different method, such as DPNs or 9” circs, simply treat n1 and n2 as the first ½ of the sts and the second ½. I recommend placing 2 different markers: one to mark the ½ way point, and one to mark the beginning of the round.
This pattern provides instructions for an afterthought heel. If you would like to substitute a different heel, simply omit the heel instructions, and substitute your chosen heel after completing the leg.
Helpful Tutorials
Afterthought Heel and Setup: https://youtu.be/EBxA3hbV7FE
Kitchener Stitch: https://youtu.be/6EGMGpZAvo4
Sock Toe: https://youtu.be/kglbuX0ukVU
Stretchy Bind Off: https://youtu.be/2ujj5500-1c
Toe
CO 16(24, 32) sts using Judy’s magic cast on, and set up to work magic loop
Round 1
n1 and n2: k all sts
Round 2
n1 and n2: k1, m1L, k until two sts rem, m1R, k the last st. (4 sts inc)
Rounds 3-20
Repeat Rounds 1 and 2. You will have 56(64, 72) sts total.
Foot
Round 1
n1 and n2: k all sts
Repeat Round 1 until the foot is 2” from your desired length measured from the tip of the toe.
Lastly, repeat Round 1 on n1 ONLY.
Heel Setup
If you are substituting a different heel, omit these instructions and follow the instructions for your chosen heel.
Working on n2 only, using scrap yarn
Row 1: k all sts. 28(32, 36) sts
Row 2: p all sts. 28(32, 36) sts
Row 3: k all sts. 28(32, 36) sts
After working Row 3, sl all the sts back to the left hand needle, then drop and cut the scrap yarn, and pick up the main yarn again. Knit across all the sts on n2.
Leg
Round 1
n1 and n2: k all sts
Repeat Round 1 until the leg measures your desired length.
Cuff
Rounds 1-15
n1 and n2: *k1, p1* around
Bind off using your preferred stretchy bind off method.
Afterthought Heel
If you have chosen a method other than magic loop, I recommend switching to magic loop or DPNs now. Refer to this tutorial if needed.
Setup
From right to left with the toe pointed down, pick up the right leg only of the 28(32, 36) sts on the rows directly above and below waste yarn. Start on the sts above the waste yarn(leg), then take the second needle and pick up the sts below(foot). Cut and remove the waste yarn in between the needles.
Setup Round 1(beginning with the leg sts)
n1 and n2: k all sts, then pick up two extra sts at the ends to prevent gaps.
Setup Round 2
n1 and n2: k until 4 sts remain, k2tog, k2tog.
Round 1
n1 and n2: k all sts.
Round 2
n1 and n2: k1, ssk, k until three sts remain, k2tog, k1. (4 sts dec)
Rounds 3-20
Repeat Rounds 1 and 2. You will have 16(24, 32) total sts remaining.
Bind off using the kitchener stitch (see Helpful Tutorials)
Finishing
Weave in any ends you may have remaining. If you decide to block your socks, I recommend soaking them for a few minutes, then letting them air dry on sock blockers.
I hope you enjoyed following along with this pattern! Be sure to share your beautiful creation on Instagram and tag @thegracefultangle and #thegracefultangle!


Comments